
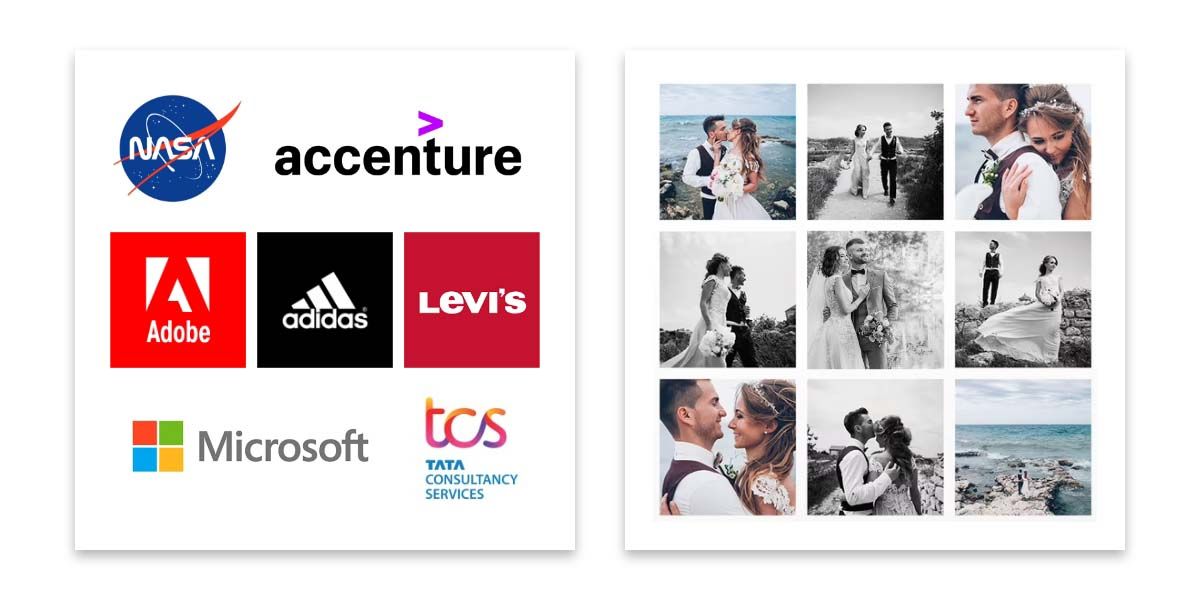
Who doesn't like a well-made photo collage? If you want to create a photo collage, you will likely need an application and a little image editing skills. With BakeMyWeb, it is easier than you can imagine. Take a look at a couple of photo collages below (left one shows some brand logos, whereas the right one shows a personal collage of a newly married coouple):
Upload the relevant photos
- Start by signing in, and navigate to your Project.
- Click on
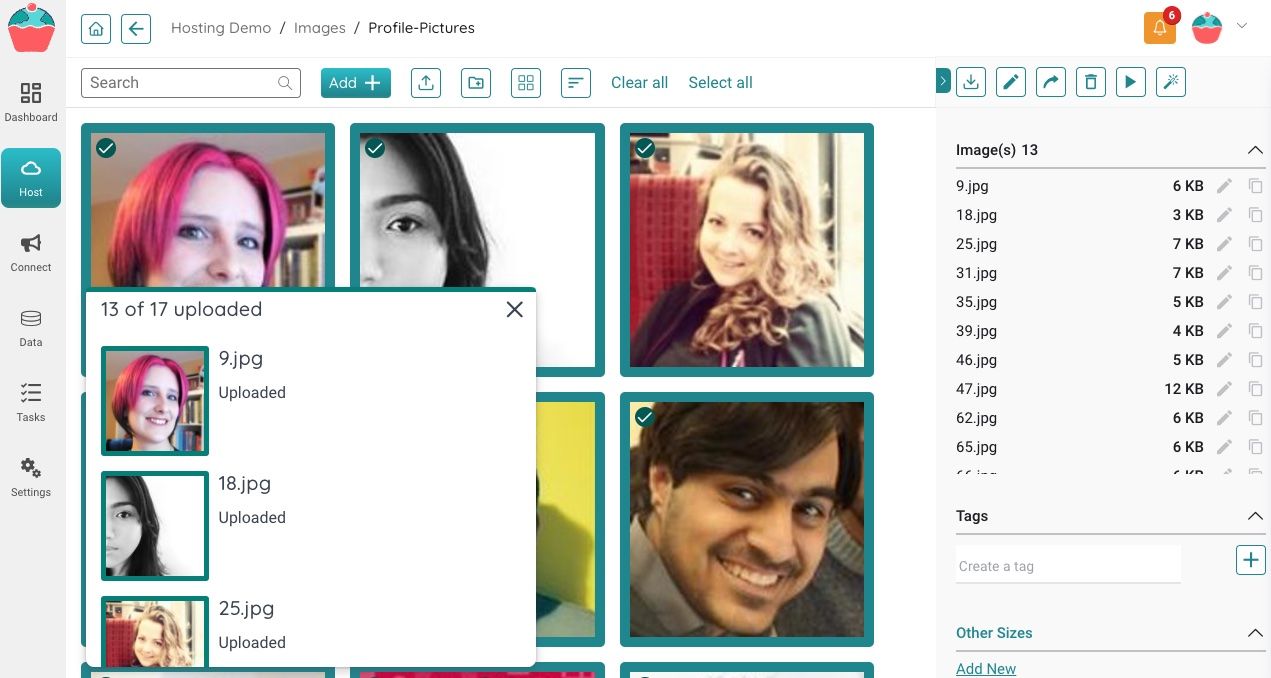
Host > Imagesand navigate to the folder which has images for your photo collage (or just upload your images).

Upload images using drag and drop
Time to upload!
Make Photo Cloud from one folder
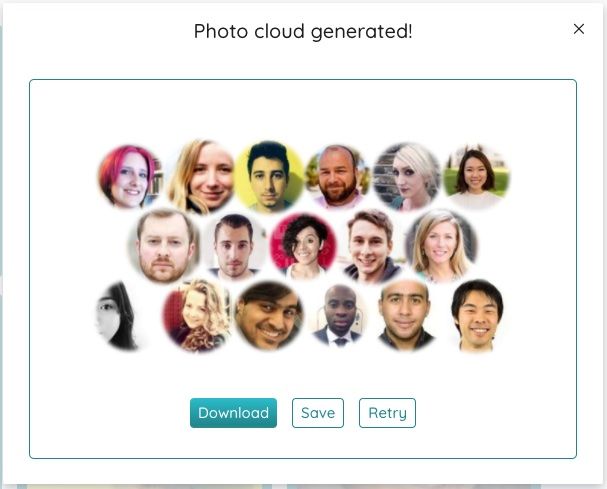
You are just one click away from your first photo cloud. Hit Awesome Tools > Generate Photo Cloud button from the right configuration panel, and bam...
Let's learn about some options:
Canvas Size: This is the output size of the collageImage Size: This is the input size of the various images you have selected. A square image works best. You may like to create aCustomvariation if needed.Background Color: It defaults to white, but you can change the background color of your photo cloud if needed.Rows: You should choose the number of rows wisely, based on the number of photos you have selected. If you have less number of images, you should use lesser number of rows.Vertical Padding&Horizontal Padding: Depending on what you have in mind, you can go for a positive or negative number.
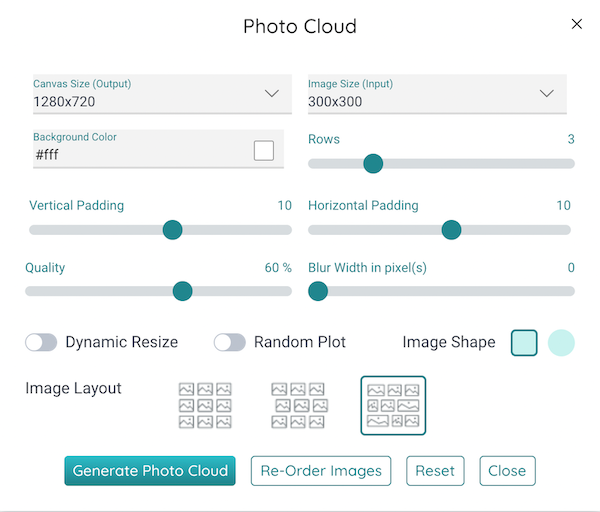
Quality: This effects the quality of the output image. The lower the quality, the smaller the file size.Blur: The more blur you add, the hazier the border would be. Depending on the photos selected, the output is effectedDynamic Resize: Resizes all images randomly so that some of them become a little bigger while others remain smaller.
Resize On
Resize Off

Random Plot: If random plotting is off, you can re-order the images by clicking on theRe-order Imagesbutton and simple dragging.
Condensed Off
Condensed On
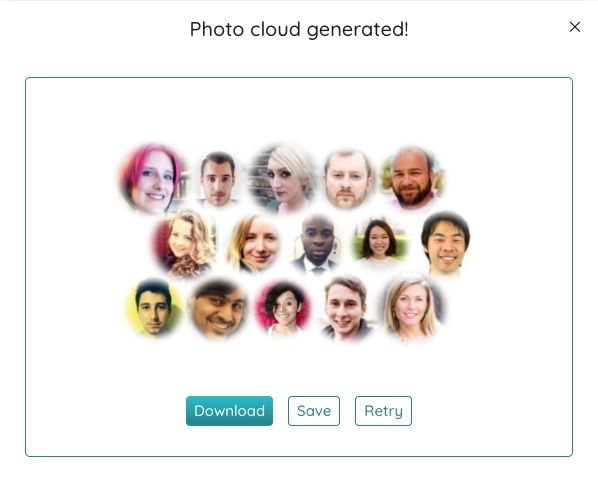
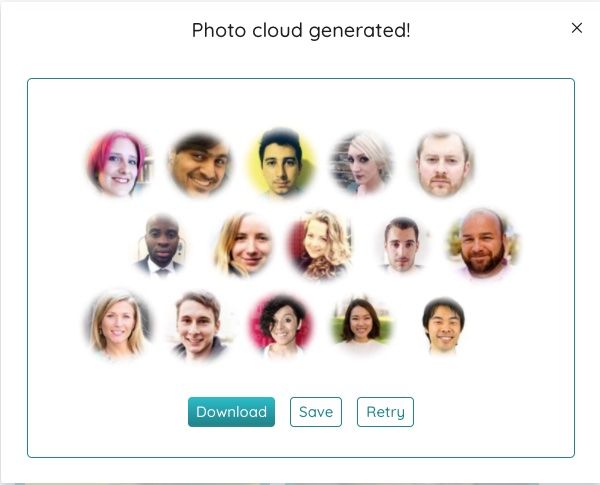
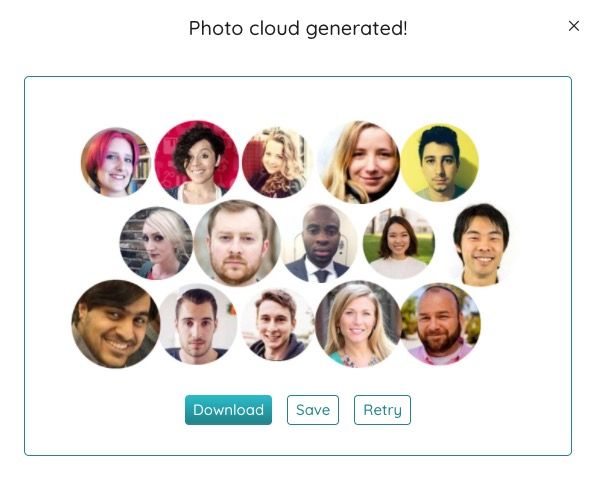
Image Shape: If you need to make the images circular, you can do that too. By default we use rectangular/square image.
Blur 0
Blur 20
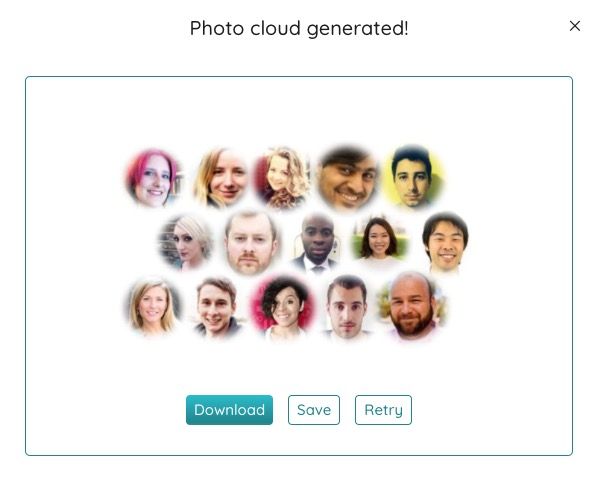
Image Layout: It shows how your images will get laid out on alternate rows.
After you have created the Photo Cloud, download or save it. If you save it, you can copy the URL of the generated image and use it wherever you like. To copy the link, select your image & click Copy > Image URL button in the right configuration panel.
Make Photo Cloud from multiple folders
I have read this

